728x90
이번시간에는 지난시간에 이어 Path에 대해 좀더 자세히 알아보겠습니다. geometry는 말그대로 도형이라는 뜻 이외에 기하학이라는 뜻도 가지고 있습니다. 'PathFigureCollection 형식에는 여러가지 노드가 존재합니다.
PathFigureCollection
EllipseGeometry
LineGeometry
RectangleGeometry
PathGeometry
GeometryGroup
CombinedGeometry
가장 먼저 LineGeometry를 알아보겠습니다.
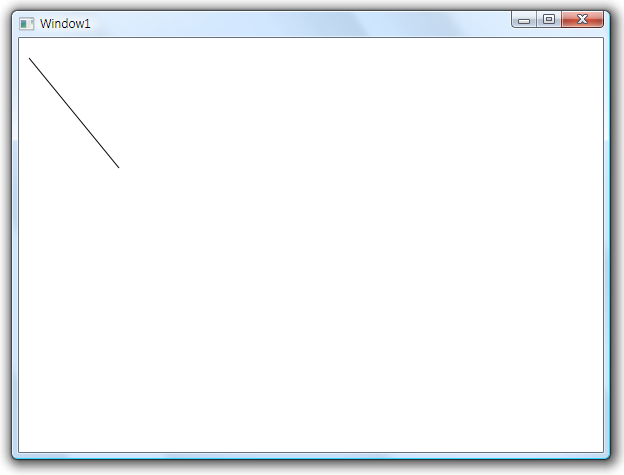
가장 중요한 속성은 StartPoint와 EndPont입니다. Line의 X1, Y1, X2, Y2의 값을 지정하는 것과 비슷합니다. StartPoint 의 첫번째 값과 두번째값은 Line의 X1,Y1의 좌표값과 동일합니다. EndPont의 첫번째와 두번째 값 역시 Line의 X2, Y2와 같다는 것을 알 수 있습니다.
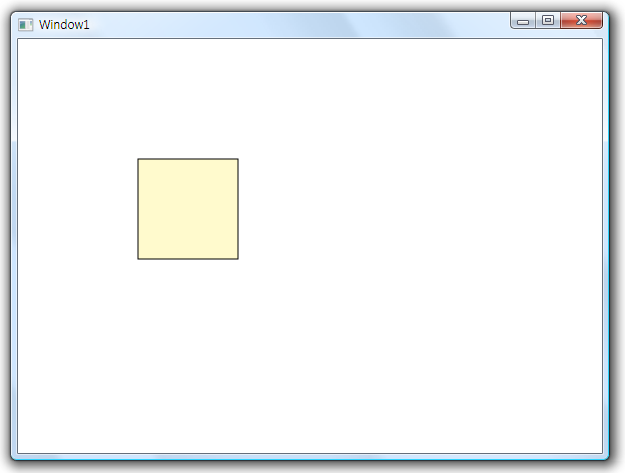
Rect 속성을 보면 첫번째와 두번째 Canvas를 기준으로 현재 사각형의 좌표이고 세번째와 네번째 값은 각각 가로(Height), 세로(Width)의 길이를 나타냅니다.
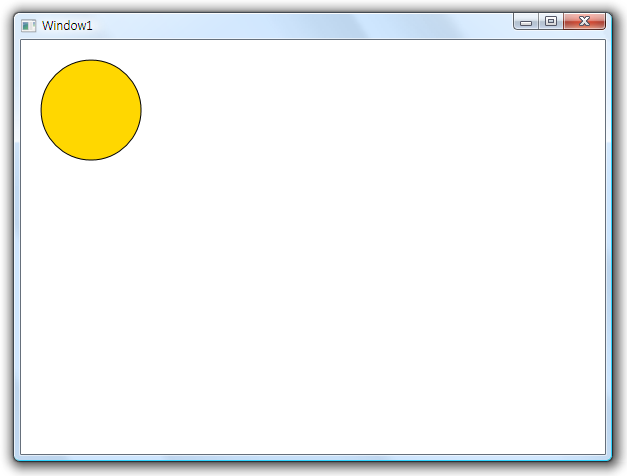
Center 값 50, 50을 기준으로 X측 Y측 반지름이 50인 원을 그립니다.
이것 역시 Shape클래스의 Ellipse(원)와 유사하다.
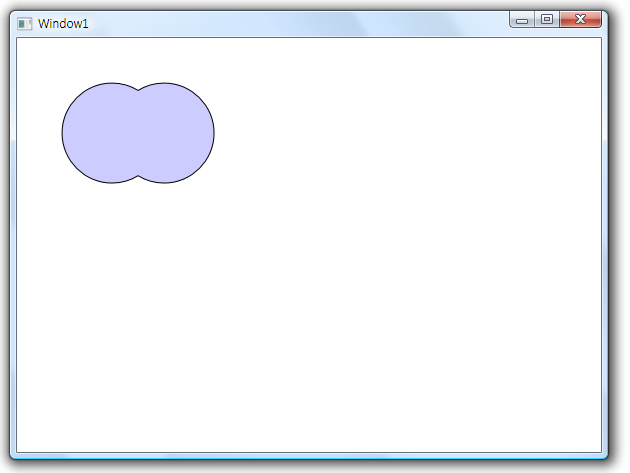
도 원이 합쳐진 것을 볼 수 있다. 우리가 초등학교때 배웠던 합집합을 보는것 같지 않으십니까? 두 도형이 교차되는 부분을 포함해서 합쳐진 전체를 그립니다.
그림 6.그라데이션 효과
PathFigureCollection
EllipseGeometry
LineGeometry
RectangleGeometry
PathGeometry
GeometryGroup
CombinedGeometry
가장 먼저 LineGeometry를 알아보겠습니다.
<Window x:Class="wpf24.Window1"
xmlns="http://schemas.microsoft.com/winfx/2006/xaml/presentation"
xmlns:x="http://schemas.microsoft.com/winfx/2006/xaml"
Title="Window1" Height="450" Width="600">
<Canvas Margin="0,0,0,8">
<Path StrokeThickness="1" Stroke="Black">
<Path.Data>
<LineGeometry StartPoint="10,20" EndPoint="100,130" />
</Path.Data>
</Path>
</Canvas>
</Window>
가장 중요한 속성은 StartPoint와 EndPont입니다. Line의 X1, Y1, X2, Y2의 값을 지정하는 것과 비슷합니다. StartPoint 의 첫번째 값과 두번째값은 Line의 X1,Y1의 좌표값과 동일합니다. EndPont의 첫번째와 두번째 값 역시 Line의 X2, Y2와 같다는 것을 알 수 있습니다.
<Window x:Class="wpf24.Window1"
xmlns="http://schemas.microsoft.com/winfx/2006/xaml/presentation"
xmlns:x="http://schemas.microsoft.com/winfx/2006/xaml"
Title="Window1" Height="450" Width="600">
<Canvas Margin="0,0,0,8">
<Path StrokeThickness="1" Stroke="Black" Fill="LemonChiffon"
Canvas.Left="20" Canvas.Top="20">
<Path.Data>
<RectangleGeometry Rect="100,100,100,100"/>
</Path.Data>
</Path>
</Canvas>
</Window>
Rect 속성을 보면 첫번째와 두번째 Canvas를 기준으로 현재 사각형의 좌표이고 세번째와 네번째 값은 각각 가로(Height), 세로(Width)의 길이를 나타냅니다.
<Window x:Class="wpf24.Window1"
xmlns="http://schemas.microsoft.com/winfx/2006/xaml/presentation"
xmlns:x="http://schemas.microsoft.com/winfx/2006/xaml"
Title="Window1" Height="450" Width="600">
<Canvas Margin="0,0,0,8">
<Path StrokeThickness="1" Stroke="Black" Fill="Gold"
Canvas.Left="20" Canvas.Top="20">
<Path.Data>
<EllipseGeometry Center="50,50" RadiusX="50" RadiusY="50"/>
</Path.Data>
</Path>
</Canvas>
</Window>
Center 값 50, 50을 기준으로 X측 Y측 반지름이 50인 원을 그립니다.
이것 역시 Shape클래스의 Ellipse(원)와 유사하다.
<Window x:Class="wpf24.Window1"
xmlns="http://schemas.microsoft.com/winfx/2006/xaml/presentation"
xmlns:x="http://schemas.microsoft.com/winfx/2006/xaml"
Title="Window1" Height="450" Width="600">
<Canvas Margin="0,0,0,8">
<Path StrokeThickness="1" Stroke="Black" Fill="#CCCCFF"
Canvas.Left="20" Canvas.Top="20">
<Path.Data>
<CombinedGeometry GeometryCombineMode="Union">
<CombinedGeometry.Geometry1>
<EllipseGeometry RadiusX="50"
RadiusY="50" Center="75,75" />
</CombinedGeometry.Geometry1>
<CombinedGeometry.Geometry2>
<EllipseGeometry RadiusX="50" RadiusY="50"
Center="127,75" />
</CombinedGeometry.Geometry2>
</CombinedGeometry>
</Path.Data>
</Path>
</Canvas>
</Window>
도 원이 합쳐진 것을 볼 수 있다. 우리가 초등학교때 배웠던 합집합을 보는것 같지 않으십니까? 두 도형이 교차되는 부분을 포함해서 합쳐진 전체를 그립니다.

<Window x:Class="wpf24.Window1"
xmlns="http://schemas.microsoft.com/winfx/2006/xaml/presentation"
xmlns:x="http://schemas.microsoft.com/winfx/2006/xaml"
Title="Window1" Height="450" Width="600">
<Canvas Margin="0,0,0,8">
<Rectangle Width="150" Height="150" Canvas.Left="50" Canvas.Top="50">
<Rectangle.Fill>
<LinearGradientBrush>
<GradientStop Color="Yellow" Offset="0.0" />
<GradientStop Color="Orange" Offset="0.5" />
<GradientStop Color="Red" Offset="1.0" />
</LinearGradientBrush>
</Rectangle.Fill>
</Rectangle>
</Canvas>
</Window>
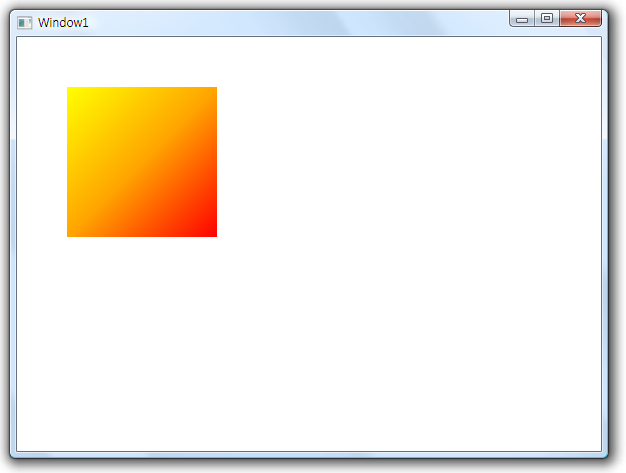
그림 6.그라데이션 효과
<Window x:Class="wpf24.Window1"
xmlns="http://schemas.microsoft.com/winfx/2006/xaml/presentation"
xmlns:x="http://schemas.microsoft.com/winfx/2006/xaml"
Title="Window1" Height="450" Width="600">
<Canvas Margin="0,0,0,8">
<Path StrokeThickness="1" Stroke="Black" Fill="#CCCCFF"
Canvas.Left="20" Canvas.Top="20">
<Path.Data>
<CombinedGeometry GeometryCombineMode="Xor">
<CombinedGeometry.Geometry1>
<EllipseGeometry RadiusX="50"
RadiusY="50" Center="75,75" />
</CombinedGeometry.Geometry1>
<CombinedGeometry.Geometry2>
<EllipseGeometry RadiusX="50" RadiusY="50"
Center="127,75" />
</CombinedGeometry.Geometry2>
</CombinedGeometry>
</Path.Data>
</Path>
</Canvas>
</Window>
※ 테스트 환경
-----------------------------------------------------------------------------------------
운영체체 : Windows Vista Ultimate 32bit
개발툴 : Microsoft Visual C# Codename "Orcas"
-----------------------------------------------------------------------------------------
'.NET WPF' 카테고리의 다른 글
| Path를 이용한 한글폰트 만들기 (0) | 2007.08.09 |
|---|---|
| Silverlight 1.1 설치환경 (0) | 2007.07.19 |
| Slideshow (0) | 2007.07.18 |
| [Controls] 23. Element:Shape (Path - 1) (0) | 2007.02.01 |
| [Controls] 22. Element:Shape (Polyline/Polygon) (0) | 2007.01.31 |
| [Controls] 21. Element:Shape (Line:선) (0) | 2007.01.30 |
| [Controls] 20. Element:Shape (Ellipse:원) (0) | 2007.01.28 |


댓글